Tila Bead Bracelet Tutorial
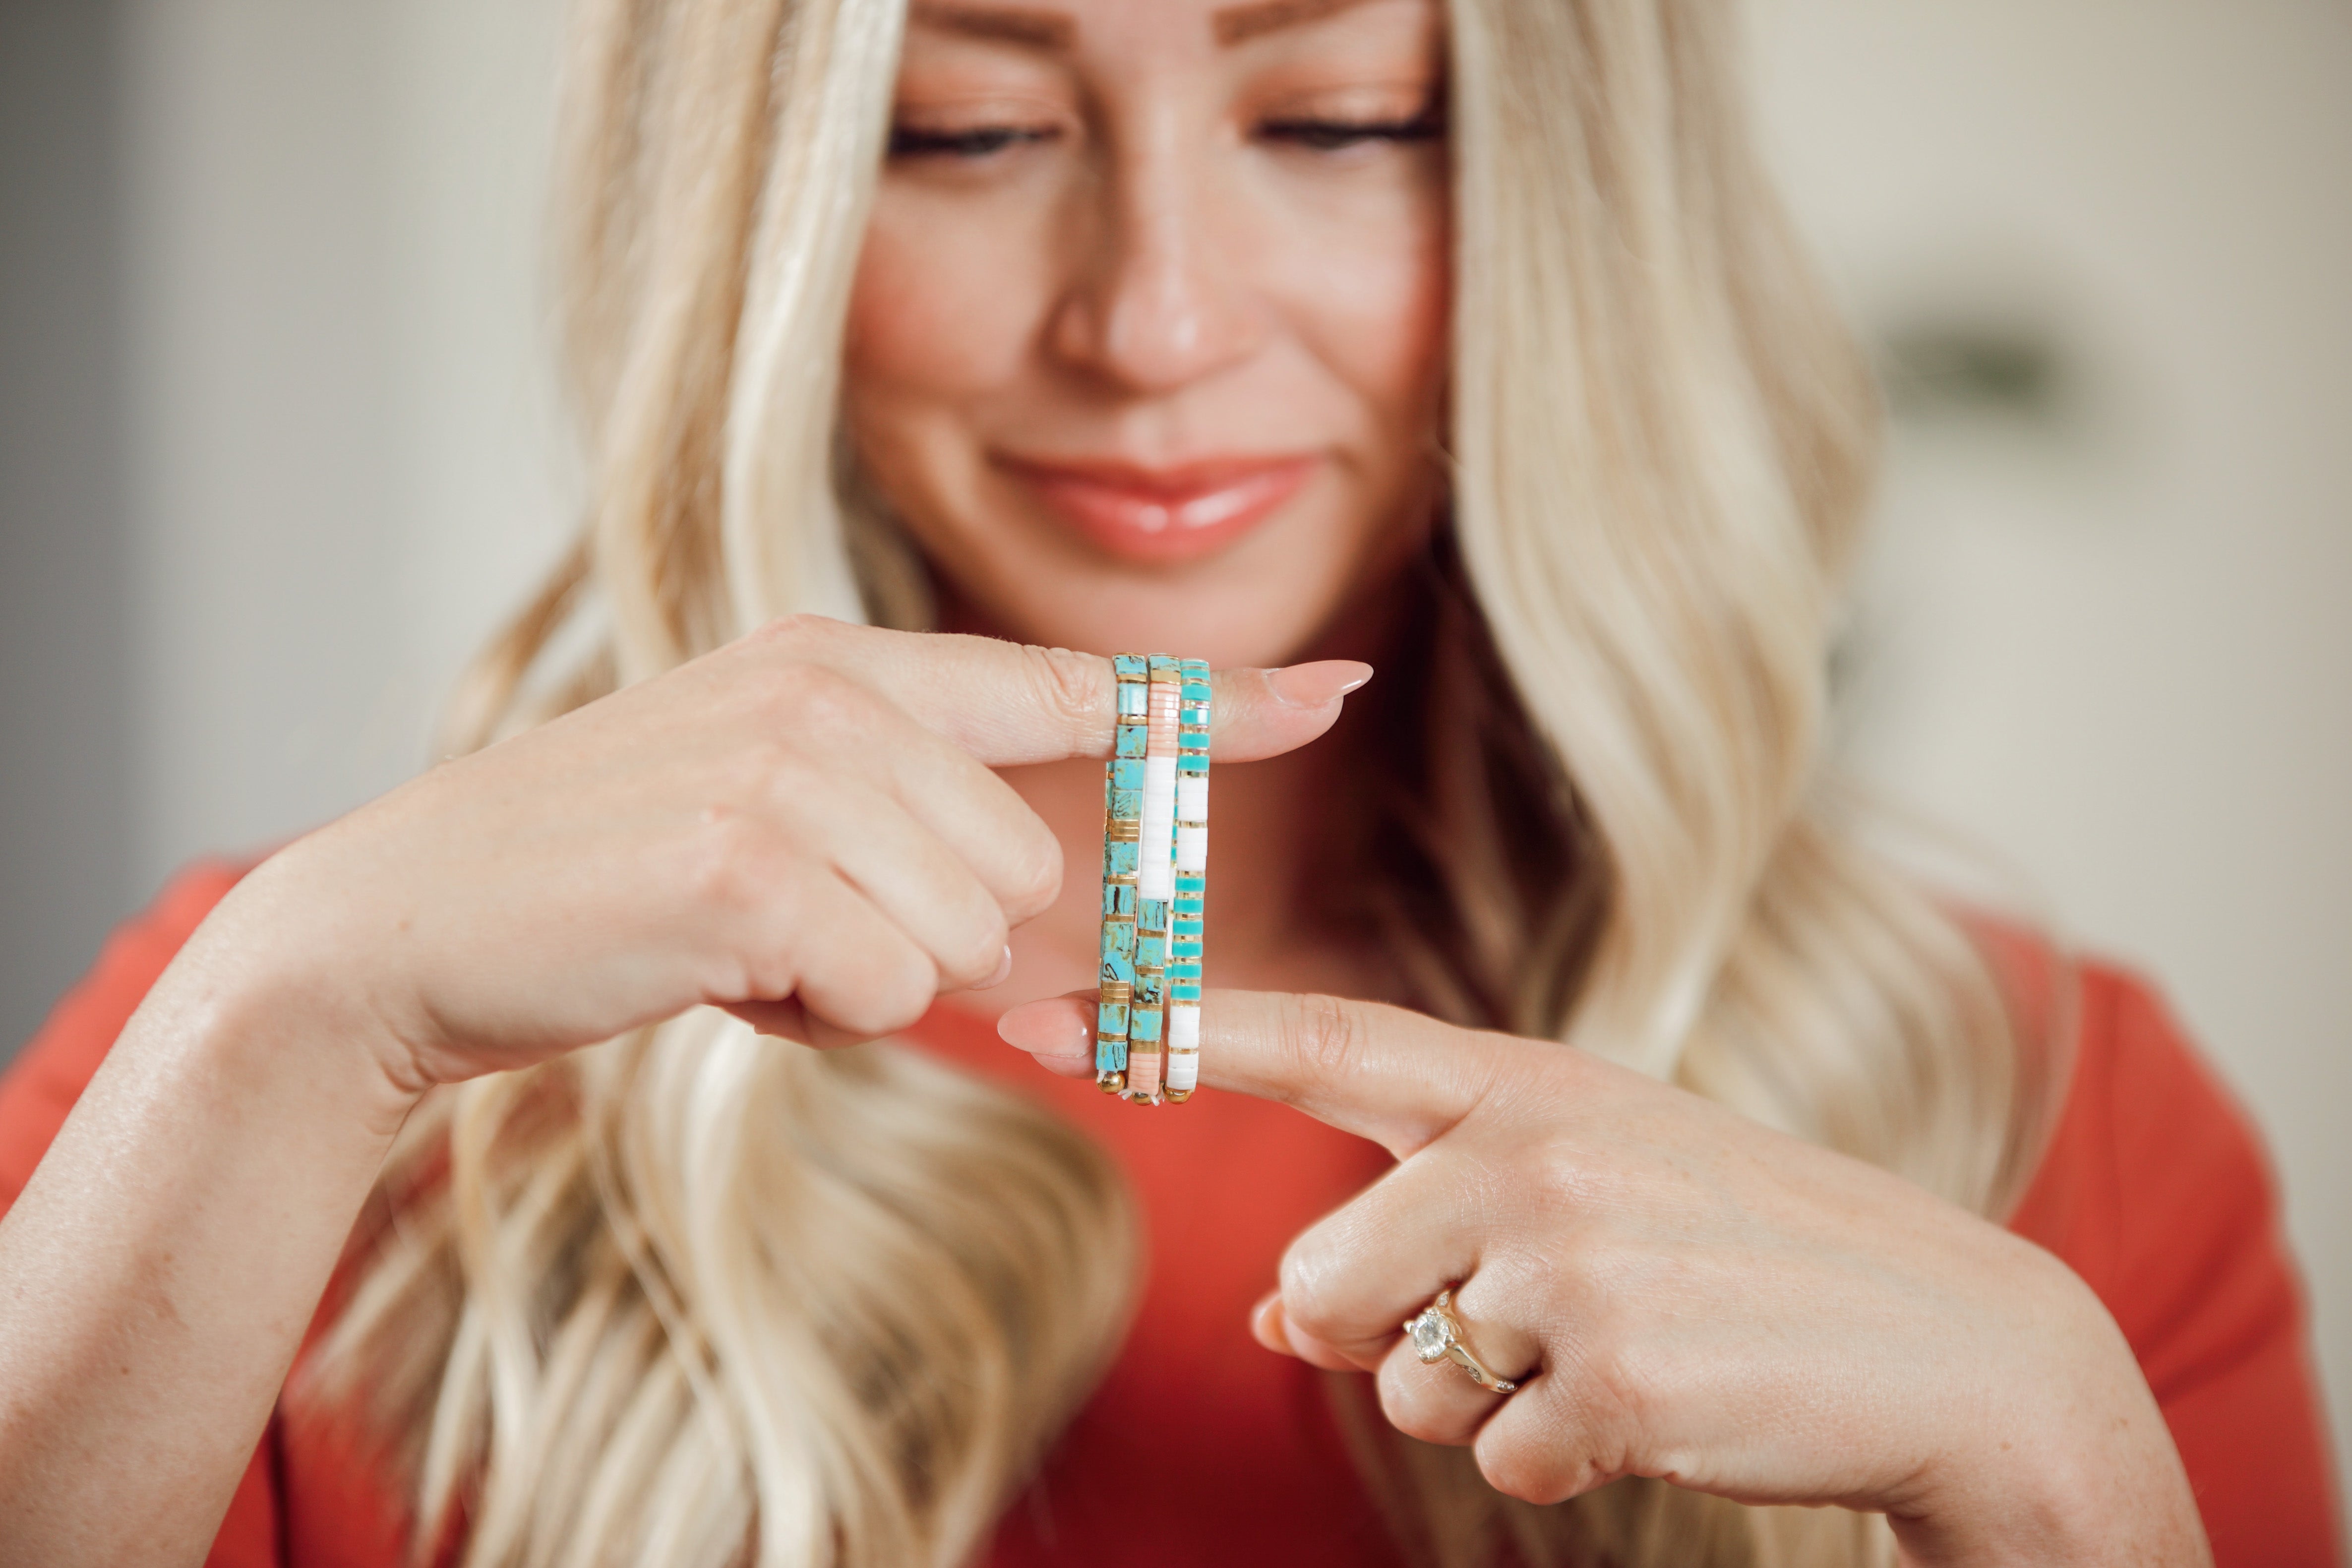
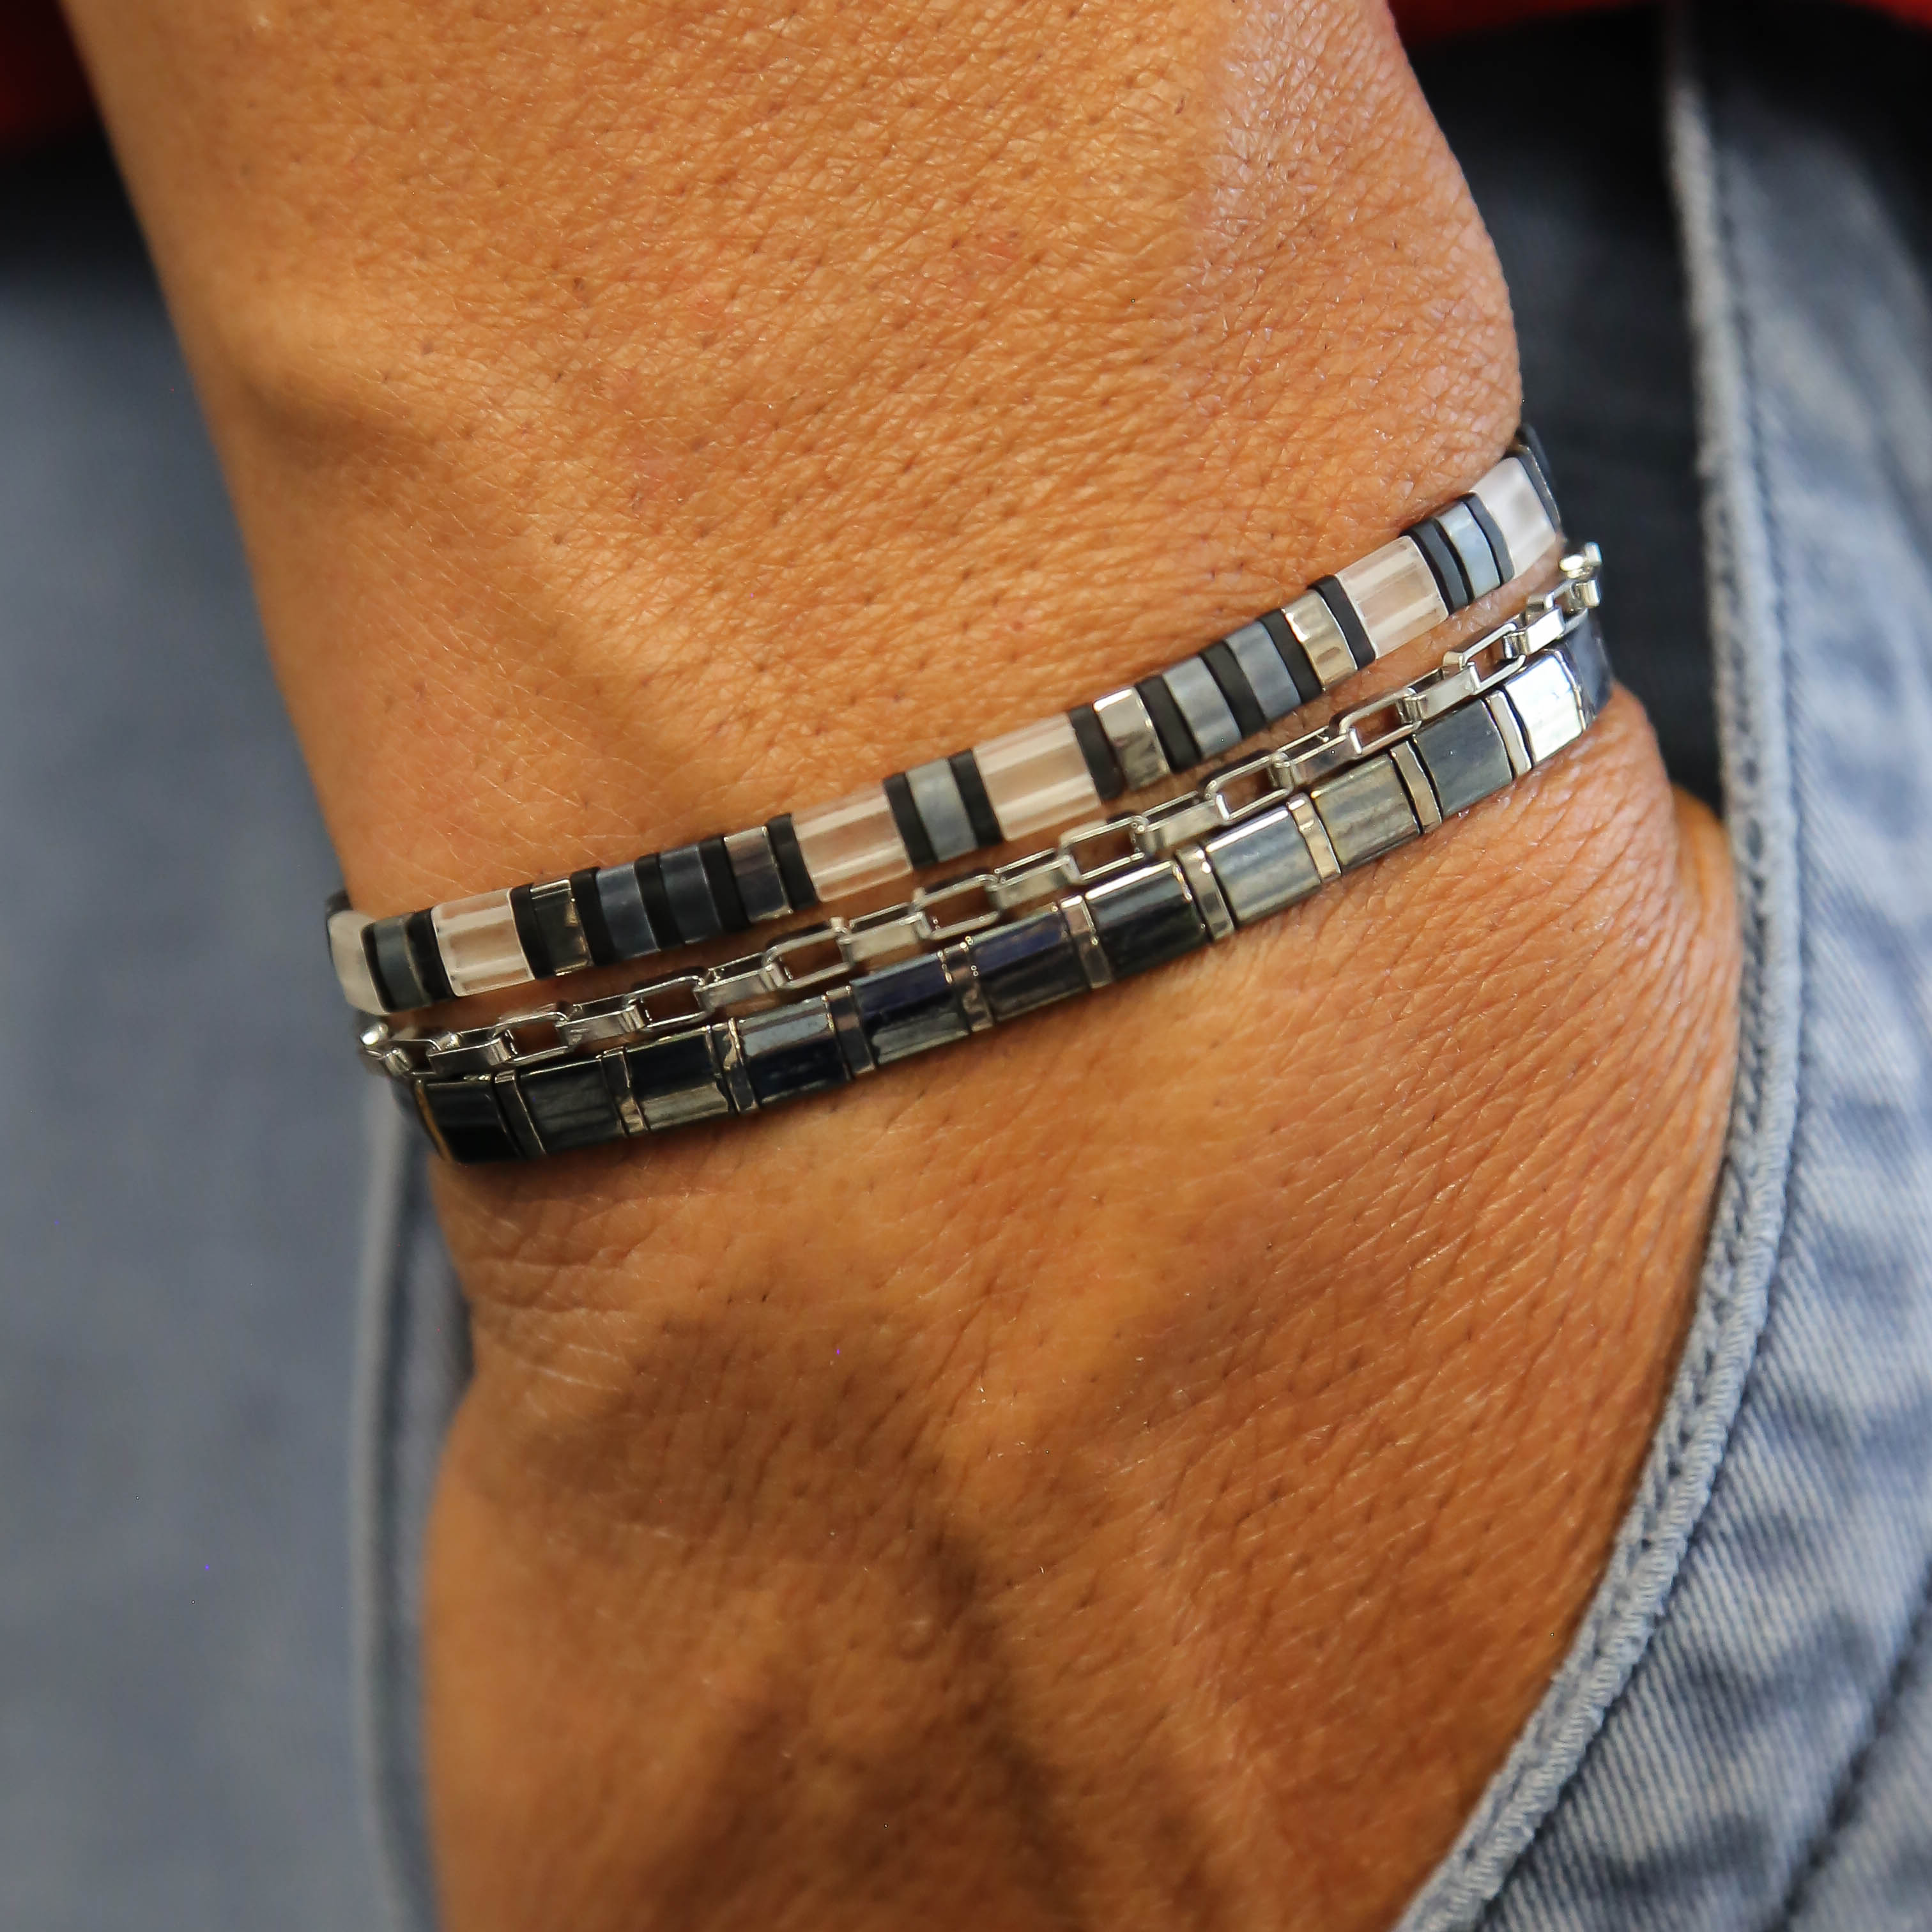
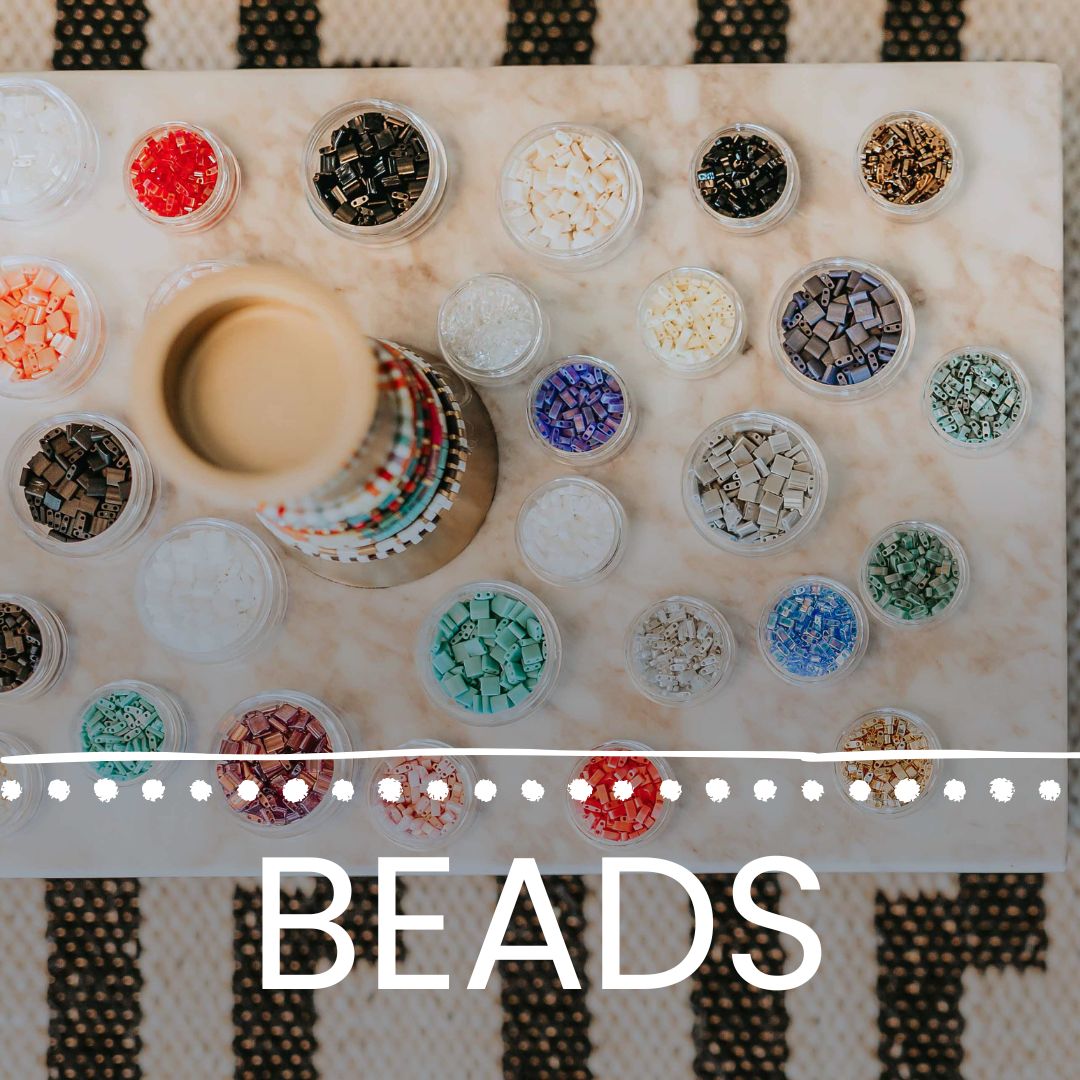
Before we begin, let's talk about Tila Beads. Tila Beads are flat, square-shaped beads that are known for their uniform size and shape. They are made of high-quality materials, ensuring durability and longevity for your bracelets. With their wide range of colors and styles, Tila Beads offer endless possibilities for creating unique and personalized designs.
Now, let's get started with the tutorial:
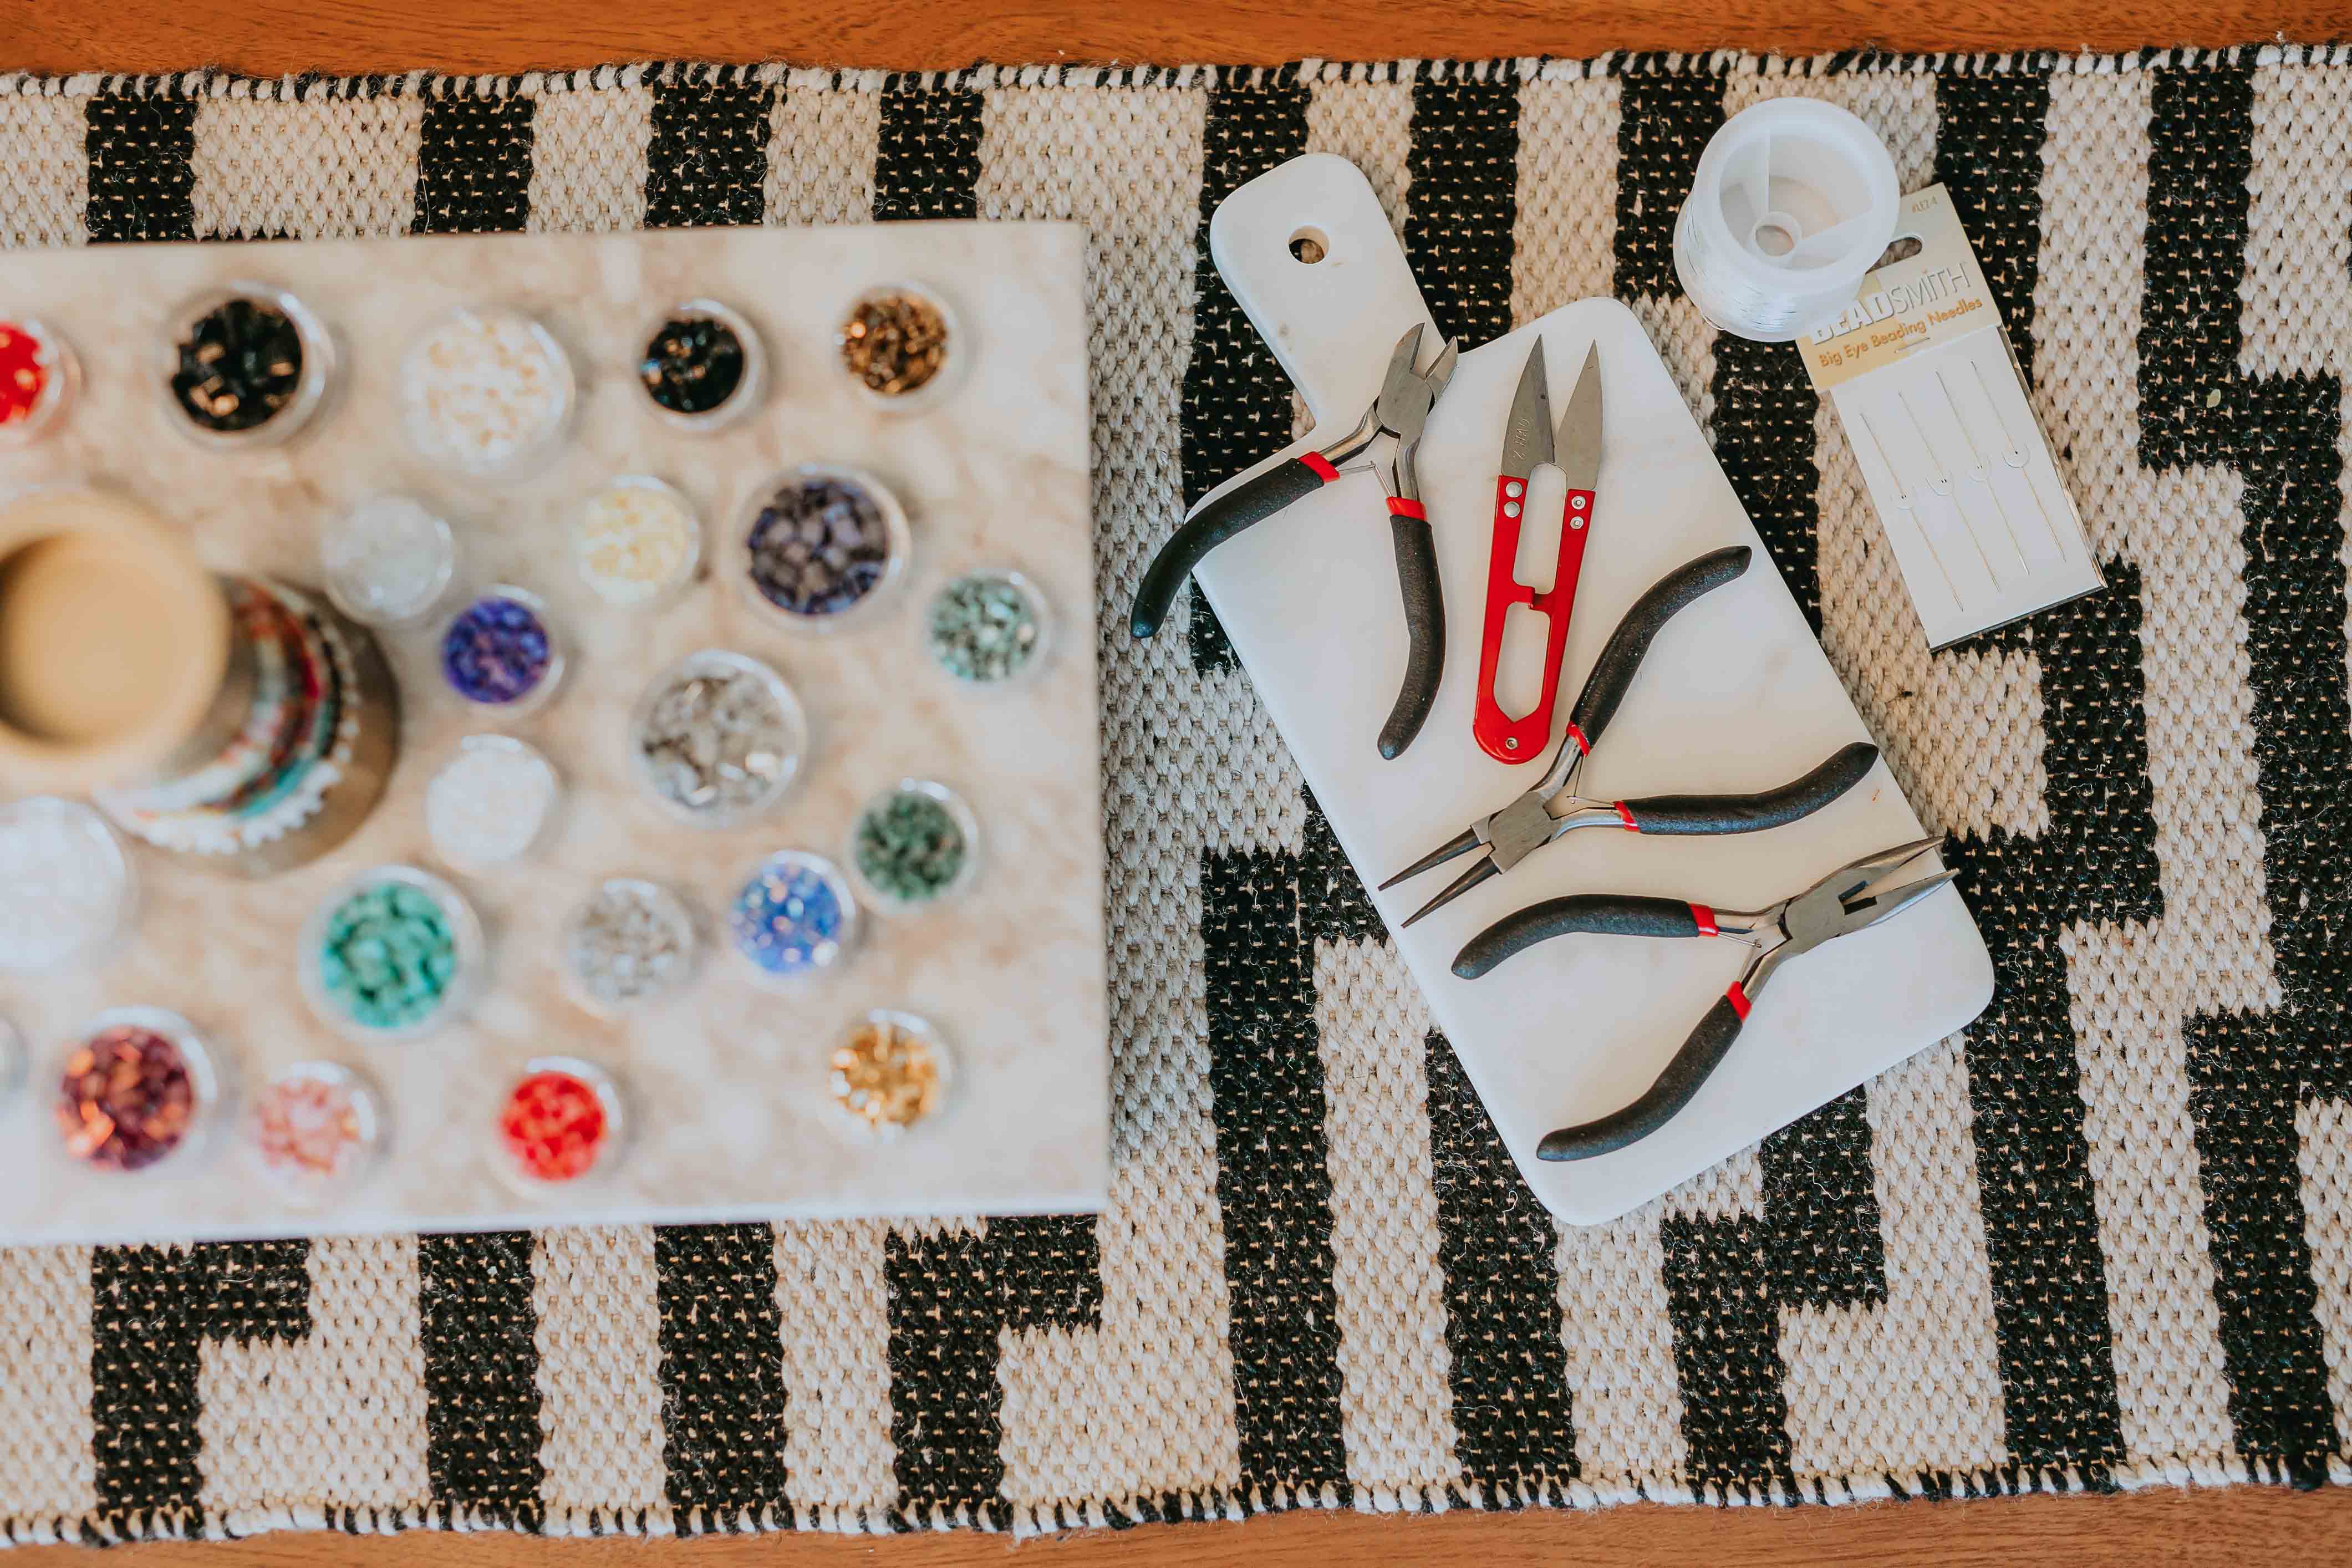
Materials Needed:
- Tila Beads in your desired colors
- Beading thread or string
- Beading needle
- Scissors
- Clasp or closure of your choice
Step 1: Prepare Your Materials
Gather all the materials needed for your Tila Bead Bracelet. Make sure you have enough Tila Beads to create your desired design. Cut a length of beading thread or string that is comfortable for you to work with.
Step 2: Thread the Needle
Thread one end of the beading thread or string through the eye of the beading needle. Make sure the thread is securely attached to the needle.
Step 3: Start Beading
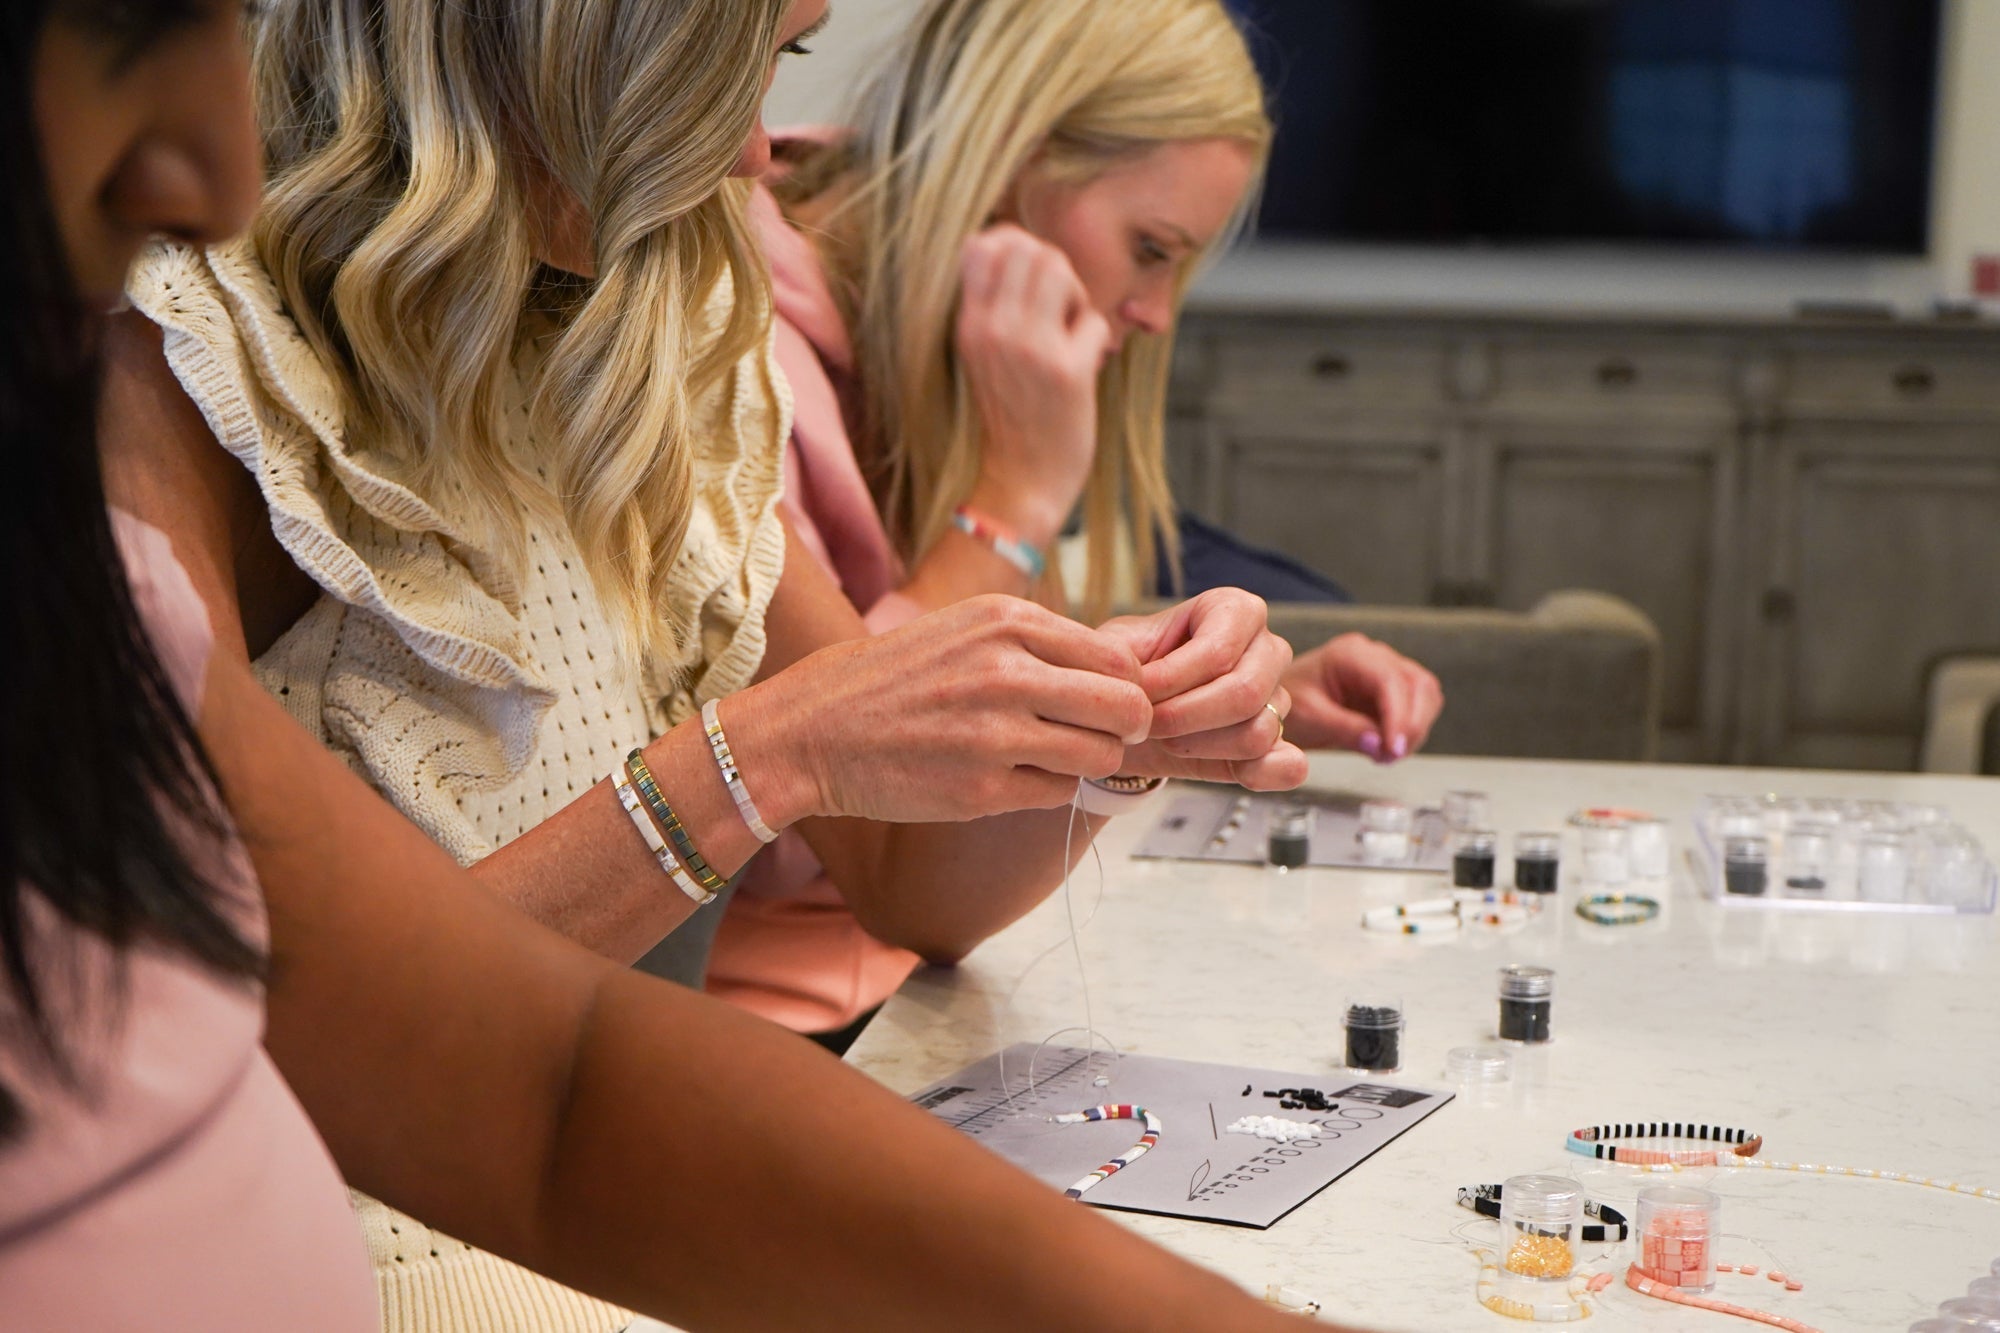
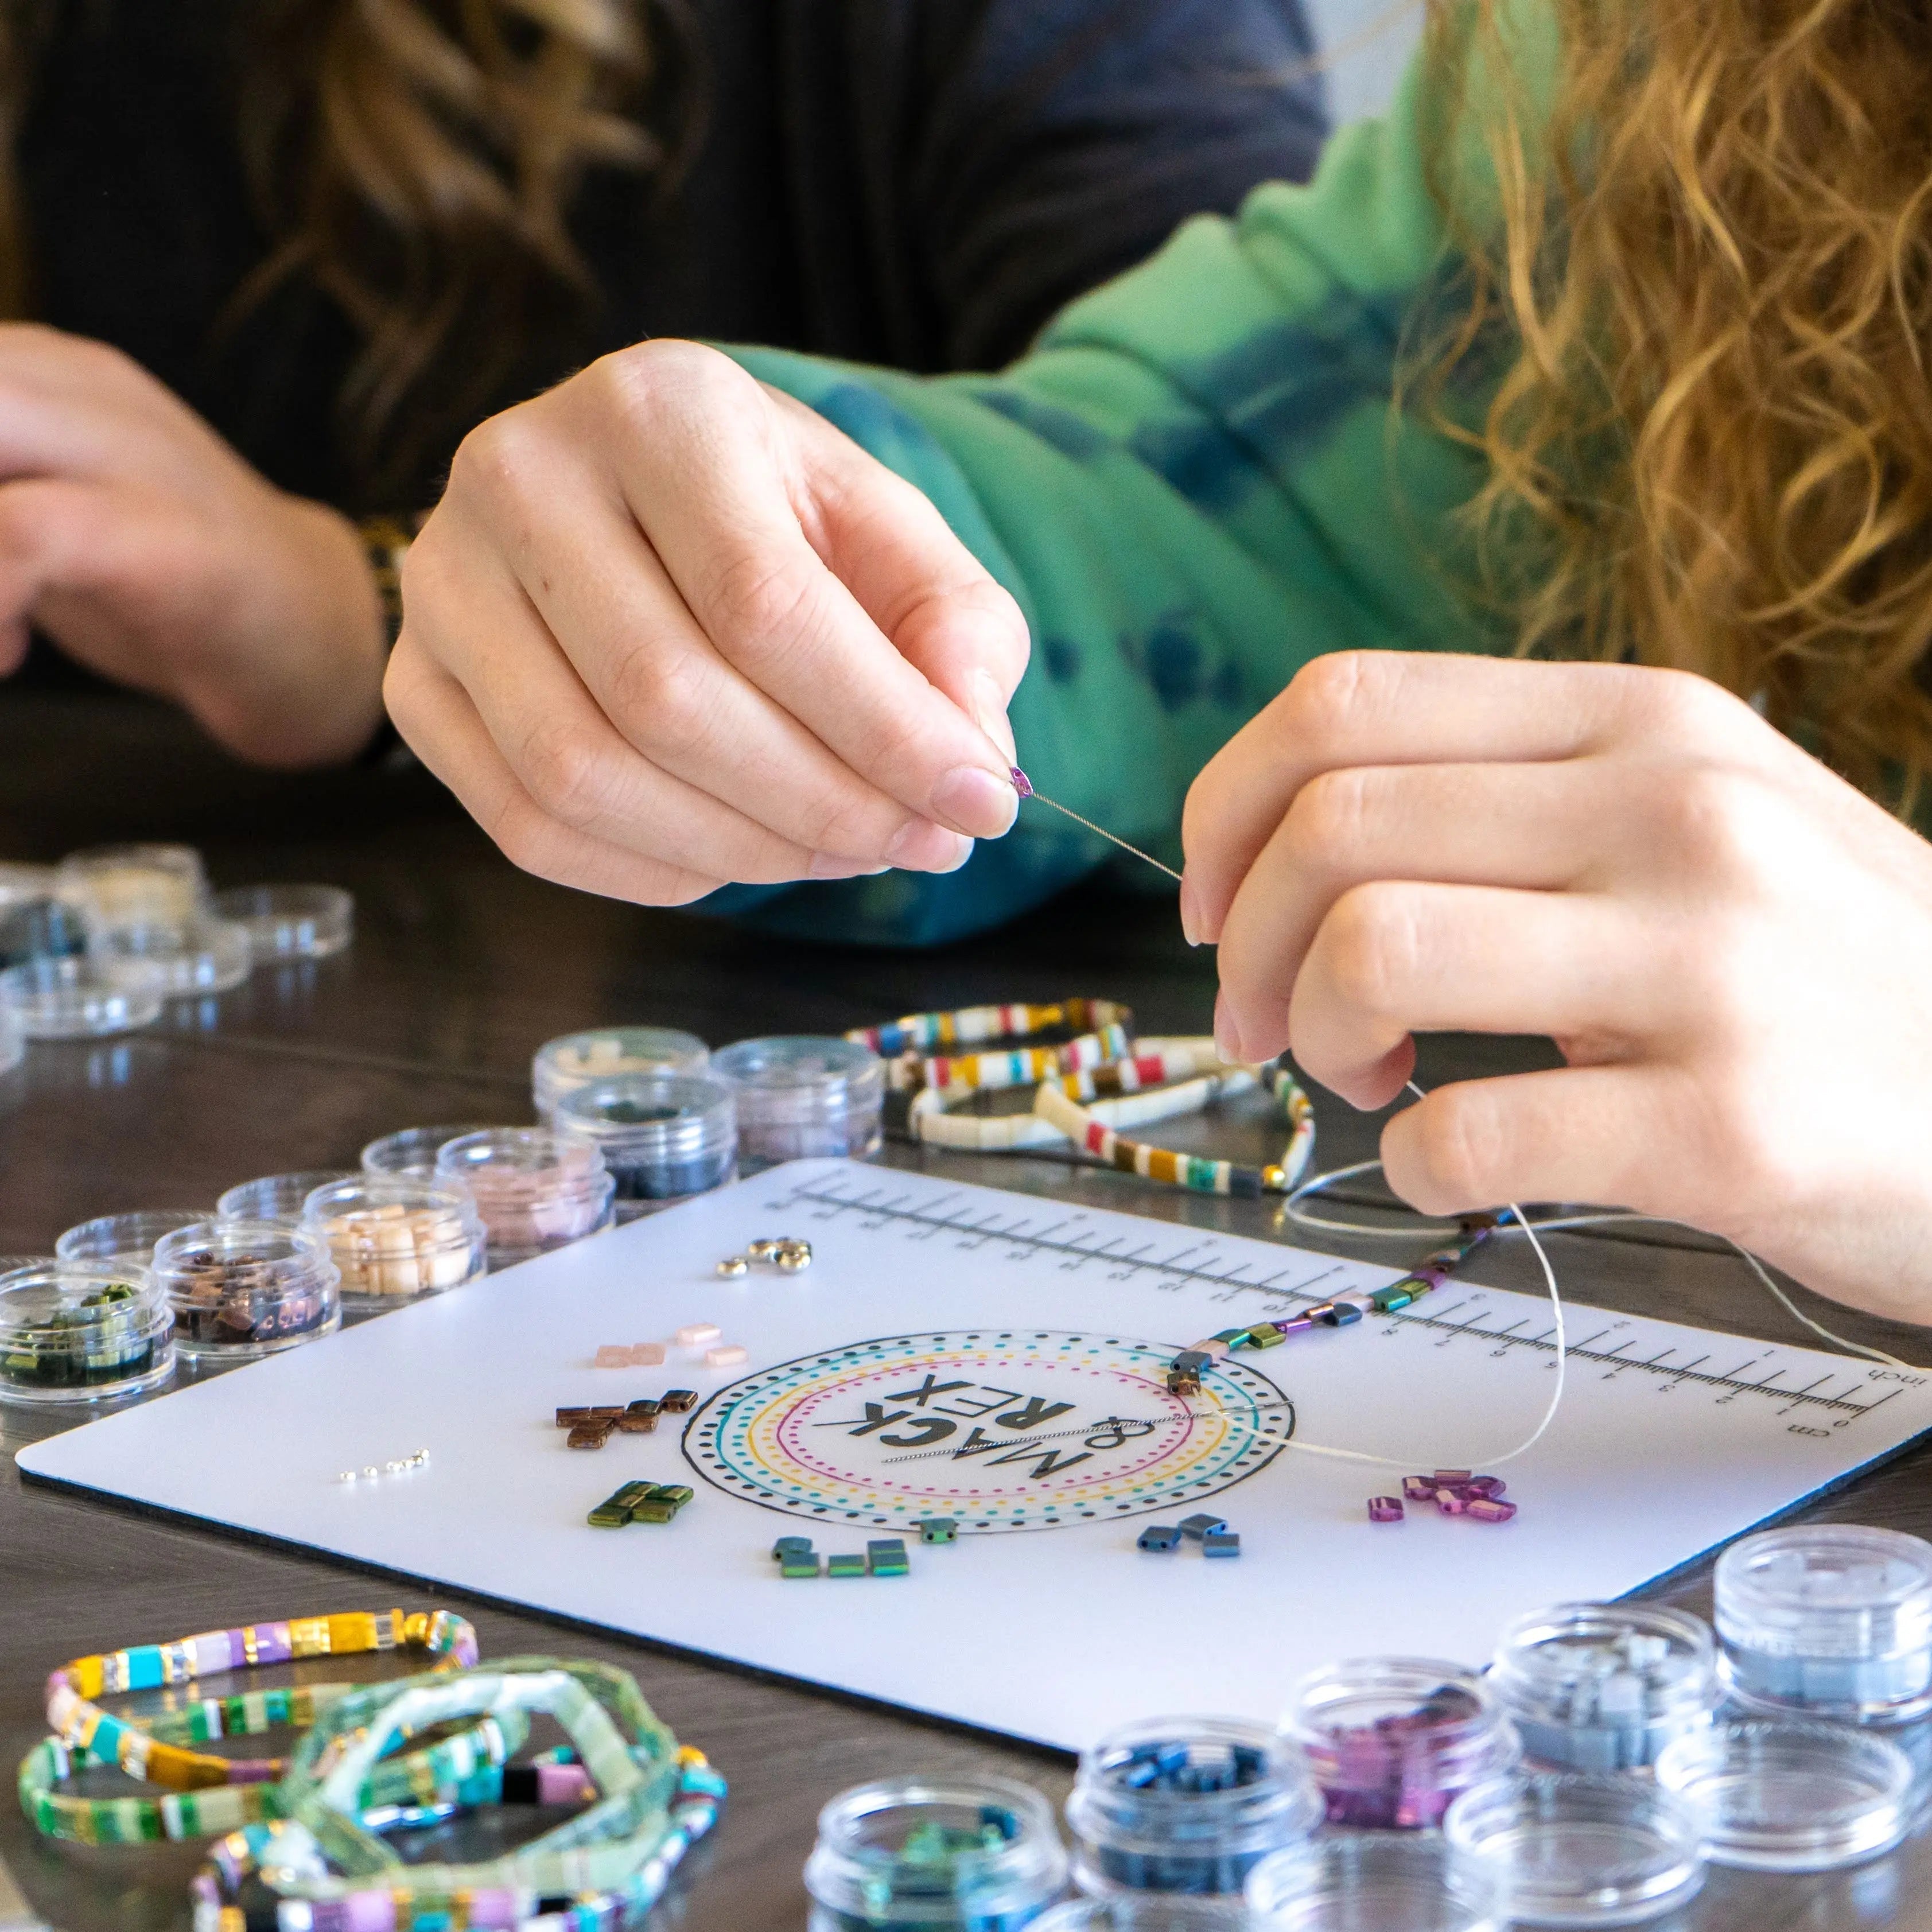
Begin by picking up a Tila Bead and sliding it to the center of the thread. Add two more Tila Beads on each side of the center bead. This will create a row of five beads.
Step 4: Create the Bracelet Pattern
Continue adding Tila Beads to create your desired bracelet pattern. You can experiment with different colors and arrangements to create unique designs. Make sure to keep the tension of the thread consistent to ensure a neat and even bracelet.
Step 5: Secure the Bracelet
Once you have reached your desired bracelet length, secure the end of the thread by tying a knot. Trim any excess thread with scissors.
Step 6: Add the Clasp
If you prefer a bracelet with a clasp, attach your chosen clasp to the ends of the bracelet. You can use jump rings or bead caps to connect the clasp securely.
Congratulations! You have successfully created your own Tila Bead Bracelet. Now you can enjoy wearing your unique piece of jewelry or share it as a thoughtful gift.
Remember, the possibilities with Tila Beads are endless. Feel free to explore different patterns, colors, and bead combinations to create bracelets that reflect your personal style. Happy beading!
Welcome to our Tila Bead Bracelets tutorial! In this guide, we will provide you with step-by-step instructions on how to create your own beautiful Tila Bead Bracelets. Whether you are a beginner or an experienced jewelry maker, this tutorial will help you create stunning bracelets that you can wear or gift to your loved ones.
Before we begin, let's talk about Tila Beads. Tila Beads are flat, square-shaped beads that are perfect for creating intricate patterns and designs. They come in a wide range of colors and finishes, allowing you to unleash your creativity and make unique bracelets.
Here's what you'll need for this tutorial:
- Tila Beads in your desired colors
- Beading thread or string
- Beading needle
- Clasp or closure of your choice
- Scissors
Now, let's get started with the tutorial:
Step 1: Prepare your materials
Gather all the materials mentioned above. Make sure you have enough Tila Beads to create your desired bracelet length.
Step 2: Thread your needle
Thread your beading needle with a sufficient length of beading thread or string. Tie a knot at the end to secure it.
Step 3: Start beading
Slide a Tila Bead onto the needle, leaving a small tail of thread. Add another Tila Bead next to it, making sure they are aligned horizontally. Continue adding Tila Beads in this manner until you reach your desired bracelet length. Remember to leave a small tail of thread at the end.
Step 4: Create the clasp
To create the clasp, you can use a variety of techniques such as adding a lobster clasp or creating a beaded loop. Choose the method that suits your preference and attach it to the ends of your bracelet.
Step 5: Secure the ends
Once you have attached the clasp, secure the ends of the bracelet by weaving the needle and thread through the beads. This will ensure that your bracelet is sturdy and durable.
Step 6: Trim the excess thread
Using scissors, carefully trim any excess thread from the ends of your bracelet. Make sure to leave a small tail to prevent the bracelet from unraveling.
And there you have it! Your beautiful Tila Bead Bracelet is now ready to be worn or gifted. Experiment with different colors and patterns to create unique designs that reflect your personal style.
If you have any questions or need further assistance, feel free to contact us at info@mackandrex.com


